Tuesday 09/11 was my husband's 28th birthday. He asked that I not get him a gift because he was holding out for the new iPhone 5. We have a system of upgrade in our household. He got the iPhone 3, I got the 3gs. He got the iPhone 4, I got the 4s. He'll get the iPhone 5, I'll get the iPhone 5xkg or whatever letter combination Apple uses. So in lieu of a present, I baked him a cake. But not just any cake, an ice cream cake!
I call this a "semi" original because I modified three different recipes to make it.
- The Ice Cream Cake Recipe – I used this recipe to build the cake, but I made a few changes because my husband hates chocolate, and I wanted to make the cake and icing from scratch.
- David’s Yellow Cake Recipe – I chose this recipe for the cake part of the cake and halved all of the ingredients.
- Quick Almost Professional Buttercream Icing – And I went with this recipe for the icing and doubled the ingredients.
I made yellow cake and buttercream icing because my husband doesn't like chocolate. If you want chocolate, you can always modify my modified recipe. The only thing I didn't make myself was the ice cream. Yeah, I just wasn't going there. Here is my recipe (melded from those above) for Melissa's Semi-Original Semi-Homemade Ice Cream Cake.
Ice Cream
As I mentioned, I did not make my own ice cream. I used one 1/2 gallon carton of Breyers Oreo Birthday Blast, but any ice cream flavor will do. Just make sure you buy the kind that comes in the rectangular carton, not the round containers (ie. Edy's).
Ice Cream
As I mentioned, I did not make my own ice cream. I used one 1/2 gallon carton of Breyers Oreo Birthday Blast, but any ice cream flavor will do. Just make sure you buy the kind that comes in the rectangular carton, not the round containers (ie. Edy's).
Ingredients
- 1/2 cup butter (softened)
- 3/4 cup white sugar
- 2 egg yolks, 1 whole egg
- 1/4 cup plus 2 table spoons milk
- 3/4 teaspoon vanilla extract
- 1 cup flour
- 1 teaspoon baking powder
- 1/4 teaspoon salt
Directions
- Preheat oven to 350 degrees. Grease and flour an 8 inch round pan. (I used extra virgin coconut oil.) Sift together the flour, baking powder and salt.
- In a separate large bowl, cream together the room temperature butter and sugar until light and fluffy. Beat in the egg yolks one at a time, then stir in the vanilla. Beat in the flour mixture alternately with the milk, mixing just until incorporated. Pour batter into prepared pans.
- Bake about 25 minutes. Cool 15 minutes before turning out onto cooling racks. Be sure the cake is completely cooled (room temperature or cooler) before building the ice cream cake.
Buttercream Icing
Ingredients
- 1 cup unsalted butter, softened
- 1 tablespoon vanilla extract
- 3 to 4 cups confectioners' sugar, sifted*
- 1/4 cup milk
- 6 drops food coloring, or as needed (optional)
*The actual recipe calls for four cups, but I found this icing to be extremely sweet especially when slathered on top of ice cream. When the cake and ice cream melted together, my husband called it "diabetic soup." Sugar at your own discretion.
Directions
- Cream (mix) butter with a hand mixer, the paddle attachment of a stand mixer, or a wooden spoon until smooth and fluffy. Gradually beat in confectioners' sugar until fully incorporated. Beat in vanilla extract.
- Pour in milk and beat for an additional 3-4 minutes. Add food coloring, if using, and beat for thirty seconds until smooth or until desired color is reached.
Building the Cake
- Remove ice cream from the carton. (You may need to cut the carton to get the ice cream out in one big hunk.) Cut the ice cream in half lengthwise (long side to long side) and place the two layers side by side on a piece of waxed paper.
- Spread icing on top of the ice cream.
- Place the cooled cake over the ice cream. Trim the cake and ice cream so that the edges match.
- Place a board or serving platter over the cake. Hold onto the waxed paper and board, and flip so that the ice cream is on top of the cake.
- Remove the waxed paper and smooth out the seam between the ice cream slabs.
- Cover with waxed paper (or platter lid) and freeze until very firm.
- Decorate with icing and store in the freezer until eating time!
I used teal food coloring, so mine looked like this.
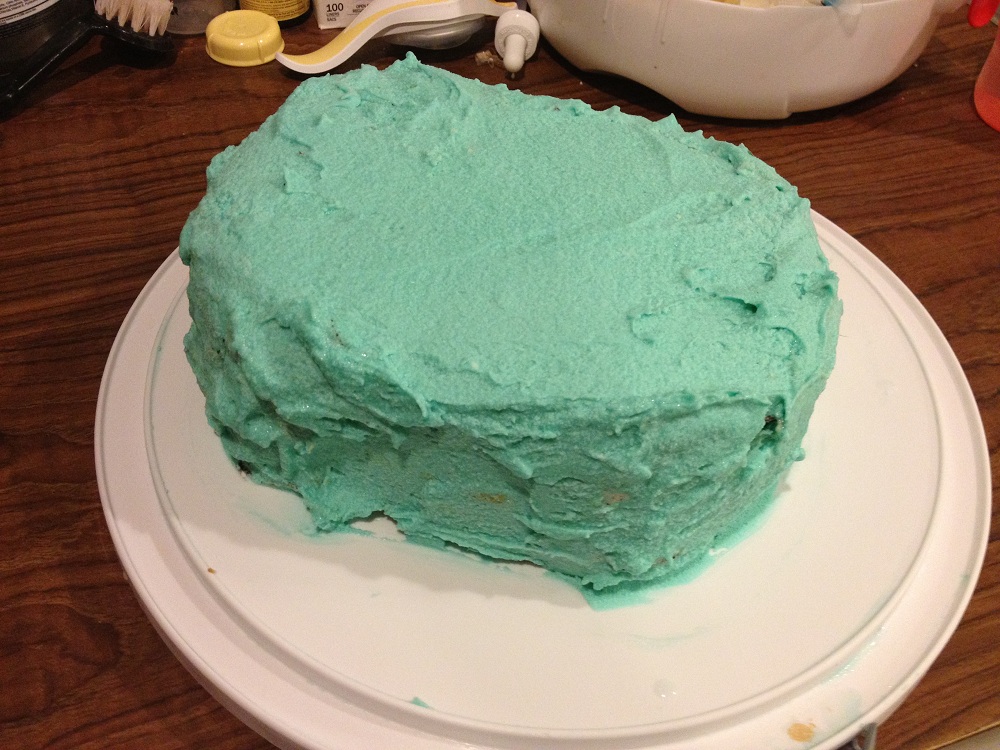 |
| My icing was a little messy, but oh so tasty! |
 |
| So sweet and yummy! |
So there you have it. My variation of ice cream cake. The cake gets a bit hard in the freezer, so I'd recommend letting it sit out for a few minutes before eating.
Enjoy!
No comments:
Post a Comment